Data Classification
The Classification module helps you organize and control your data assets by applying rules and categories. It includes the following components:
-
Law & Standards lets you manage rule sets for data discovery and classification.
-
Classifications allow you to categorize organizational content to maintain control of data assets.
-
Rules enable you to create scanning rules by Date Range, Number Range, Regex, or List.
-
Lists let you add alias lists manually or import them from a CSV file for greater accuracy.
Laws & Standards
Law & Standards is used to define and manage rule sets that guide the discovery and classification of data assets.
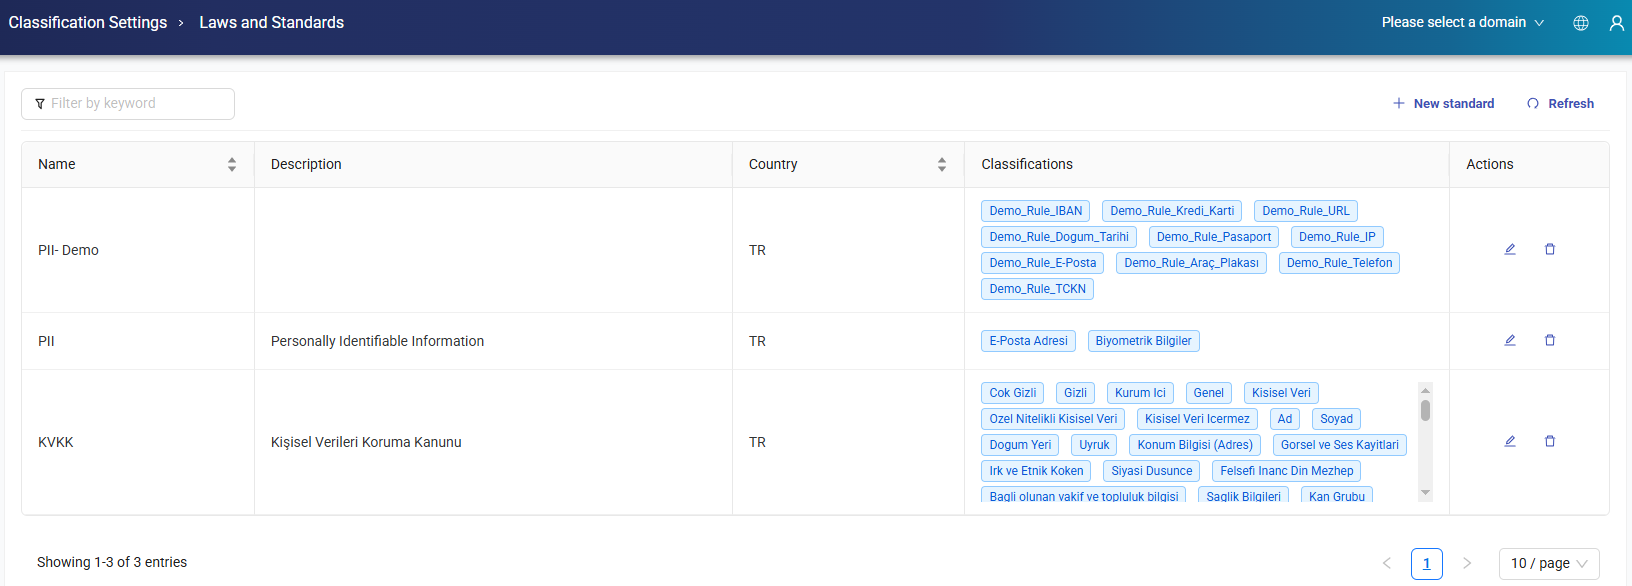
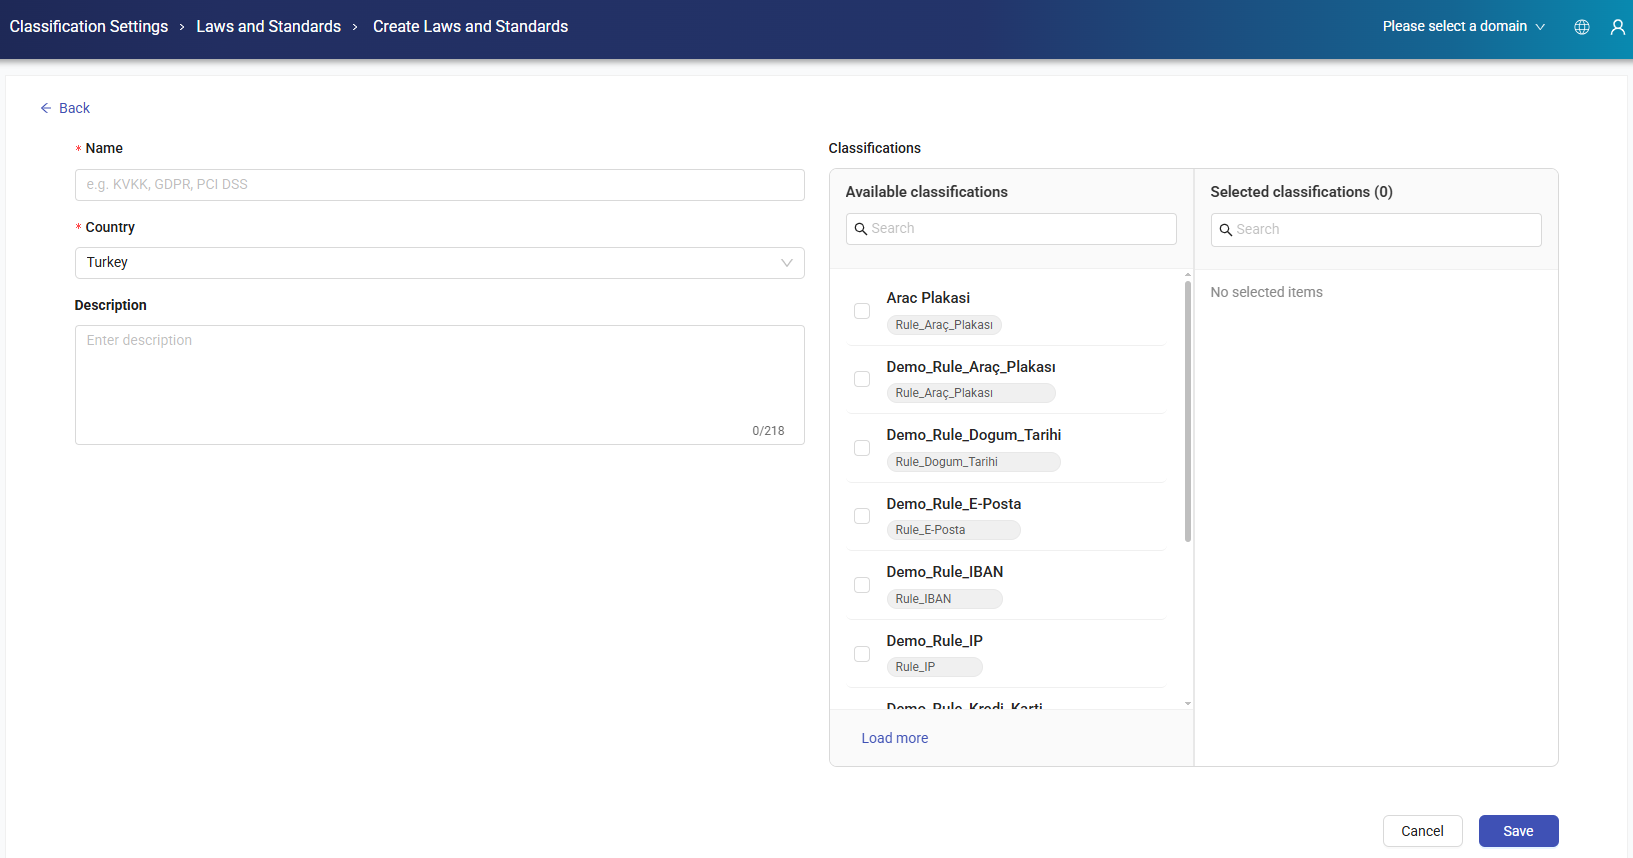
To create a new law and standard, click + New standard button. Enter a name and description, choose a country, select classifications from the available options, and click Save.
Classifications
Classifications evaluate and categorize content within the organization to maintain full control over data rules. In addition to the default sensitive information type classifications, you can customize classifications by defining data or column patterns.
Upload Classification
To upload a classification, click the Upload Classification button. Select the separator type, upload the classification file, and then click Save.
Note
You can use Download Template to download a sample file and see the required format for your upload.

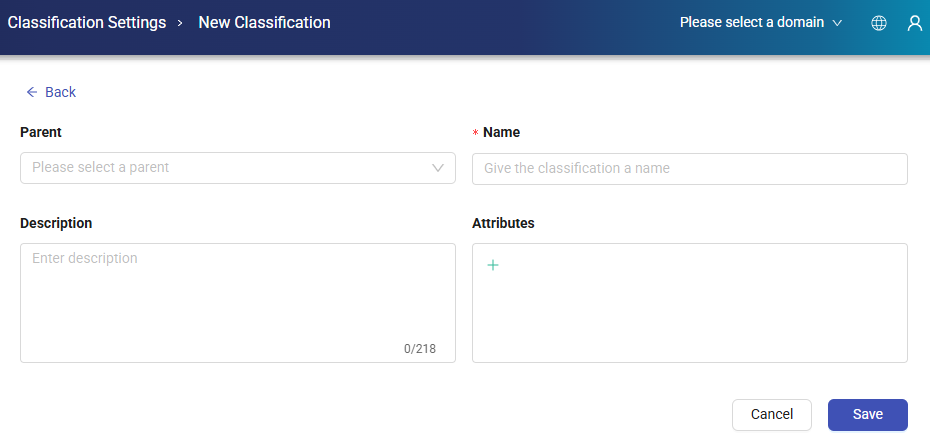
New Classification
To create a new classification, click + New Classification button from the top of the window. Enter Parent, Name, Description fields and click Save.
Note
If a sub-classification is not being created, the parent field can be left empty. This will place the classification at the top level of the hierarchy.
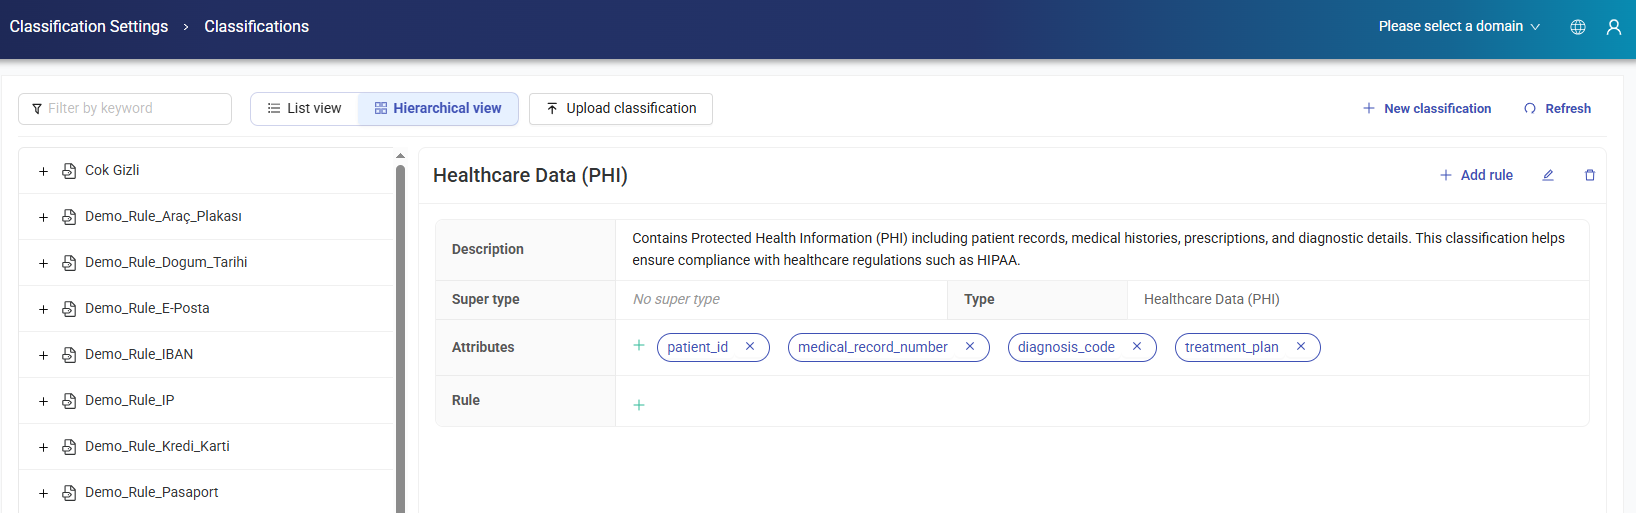
Add Rule
A new rule is added by clicking the + Add Rule button at the top right of any classification. After clicking the + Add Rule button, enter the Rule Name, Description, Alias, Rule Types, Classification and Threshold fields, then click Save.
Edit Classification
To edit a classification, click the Edit button at the top right of any classification. After editing the related fields, click Update to save the changes.
List View
It is used to display classifications in list view.

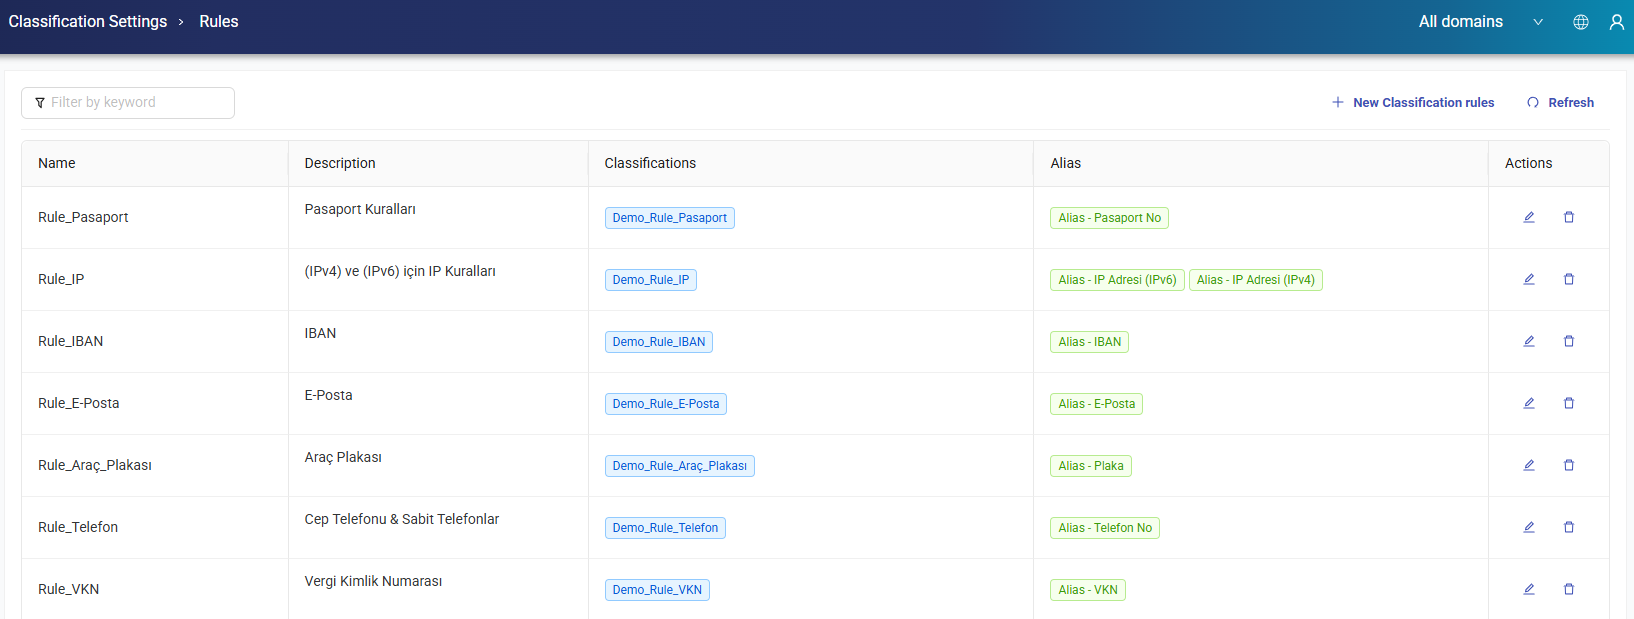
Rules
Rules are used to customize classifications by defining specific criteria for scanning and categorizing data.
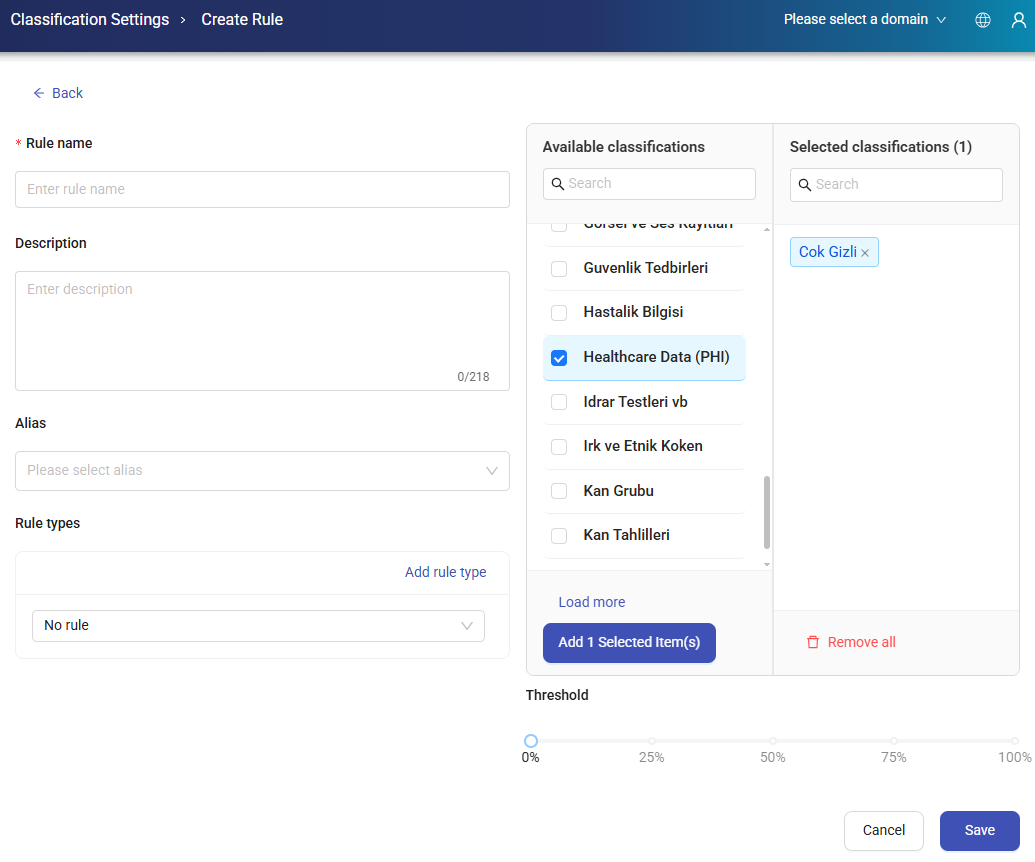
New Rule
To create a new Classification Rule, click + New Rule button from the top of the window. Enter the Rule Name, Description, Alias, Rule Types, Classification and Threshold fields, then click Save.
Edit Classification Rule
To edit a classification rule, click the Edit button at the top right of any classification. After editing the related fields, click Update to save the changes.
List
Lists allow you to add alias entries manually or import them from a CSV file to improve classification accuracy.

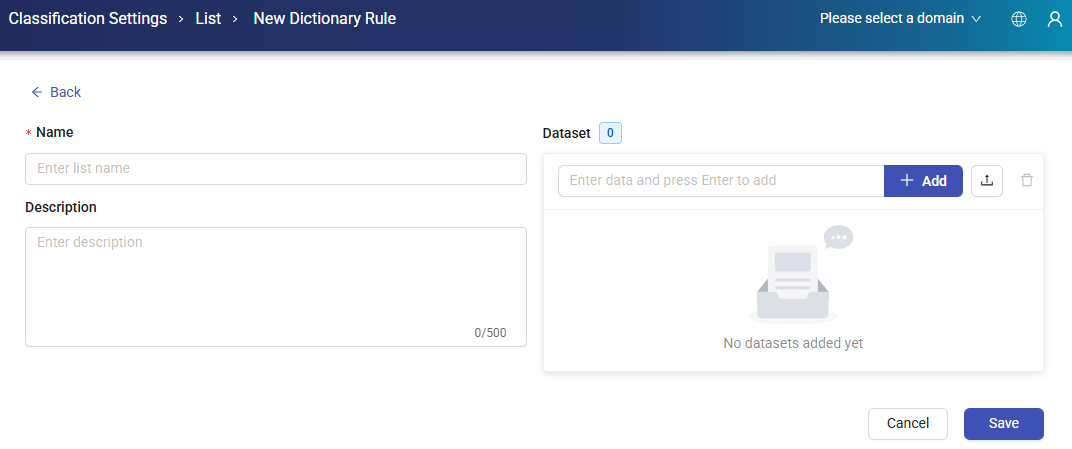
New List
To create a new list, click + New list, enter a name and description, add the relevant datasets, and then click Save.
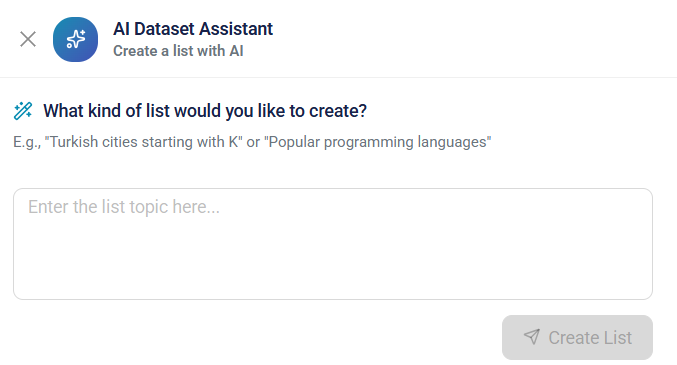
Ask AI: The AI List Assistant feature allows you to generate custom lists using natural language prompts. Enter a description of the list you want to create, and AI will automatically generate relevant items based on the specified criteria.
For example, you can enter prompts such as:
- Turkish cities starting with K
- Popular programming languages
- Common financial terms
- Top cloud service providers
After submitting the prompt, AI analyzes the request and generates a list of relevant items that can be reviewed, edited, and used as needed.
Edit List
To edit a list, click the Edit button from Actions of any list. After editing the related fields, click Update to save the changes.