Data Sources
Data Sources
Data Sources lets you add external databases (Oracle, PostgreSQL, MySQL, MSSQL) and view them in a list with Name, Host & Port, Database Type, Created By, and Creation Date.
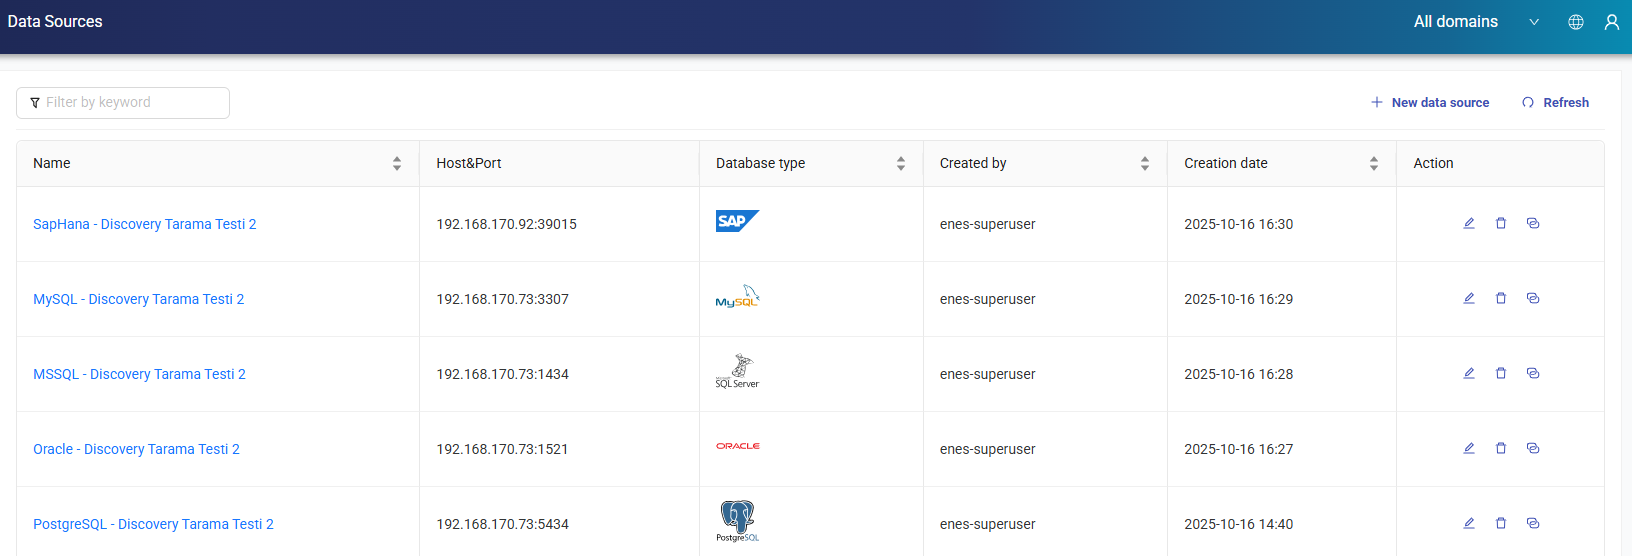
New Data Source
To add a new data source, click + New Data Source button from the top of the window.
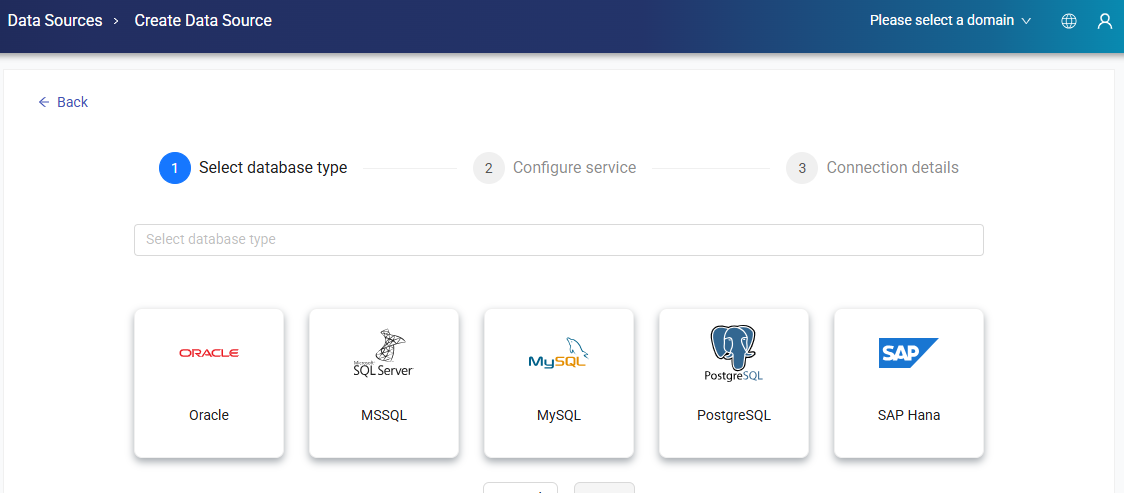
Select the Database Type, then click Next.
Note
Selecting the Unstructured database type adds a file target instead of a database connection — a connector type (SMB, S3, Azure Blob, ADLS Gen2, GCS, Google Drive, SharePoint, Dropbox, Box, Gmail, or SFTP) is chosen and the target form is filled in. See Unstructured Data Discovery for the full flow, including starting and scheduling scans for file targets.
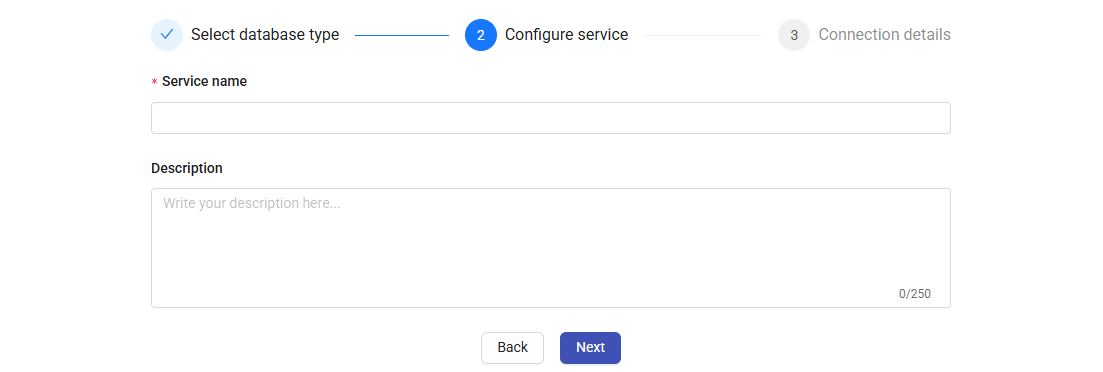
Enter the Service Name, Description and Domain, then click Next.
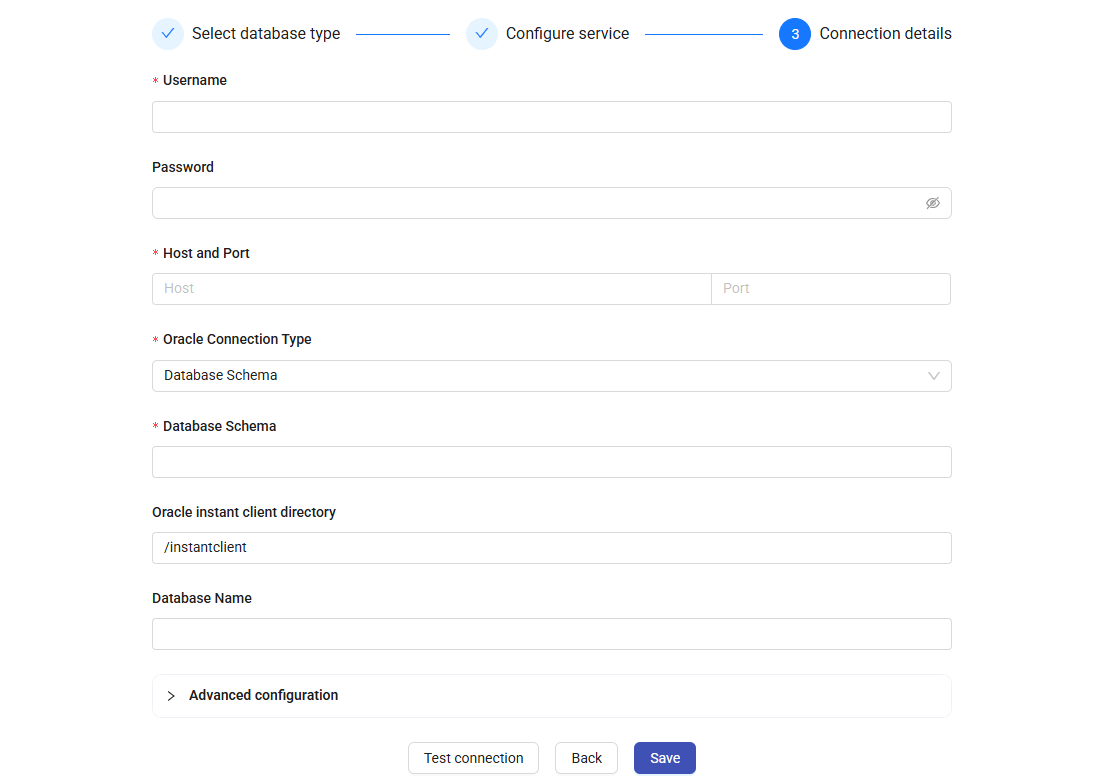
Enter the required fields and choose the Connection Options and Arguments, then click Save.
Note
Enable the Track Database Changes checkbox to automatically detect changes in the database. When a change is detected, metadata is re-scanned automatically, and a task is assigned asking whether a discovery scan should be started, with Seen and Start Scan actions available from the task screen. This flow relies on information coming from DAM and DataTouch.
Data Source Details
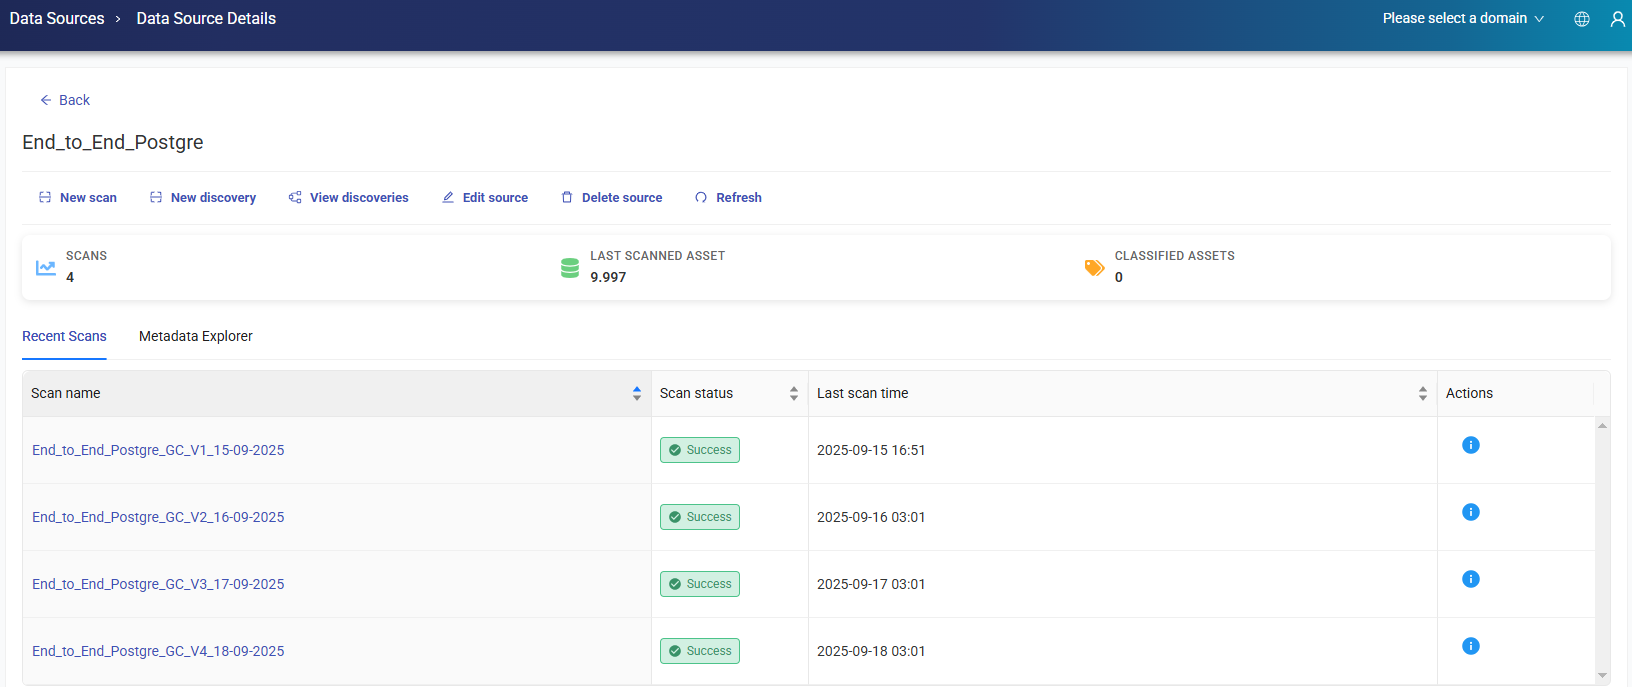
On the Data Source window, click on any Data Source's name to reach relevant details and recent scans. Scans, Last Scanned Asset, and Classified Assets information obtained according to the last successful scanning result.
Scan Status Details
To get information about the Scan Status, click on the Information icon from Actions.

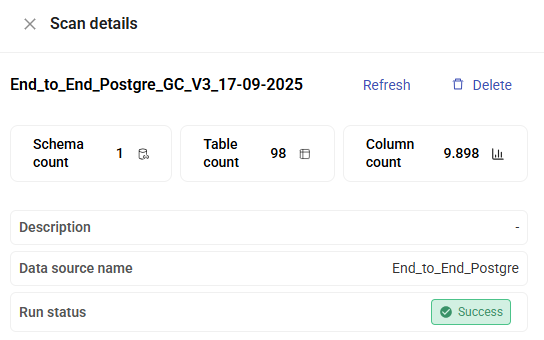
Scan Details
To get information about the Scans, click on the relevant scan name.
Edit Source
To edit a data source, click Edit Source button from the top of the Data Source Details page. After editing the related fields, click Update to save the changes.
New Scan
To scan a data source, click New Scan button from the Data Source Details Page. You can run a scan using one of the following methods: Metadata Explorer, CSV File Import, GEODI CSV Import or SDM Import method from the opened window.
Metadata Explorer
To scan using Metadata Explorer, enter a name and provide schema and table filter patterns and click Next.
Enable the Transfer Governance to New Catalog checkbox to automatically carry Classification, Term, Label, Owner (user and group), and Domain information from the existing catalog over to the newly generated catalog during or after the scan.

Select a scheduler, set the number of retries, and then click Save or Deploy and Run.

CSV File Import
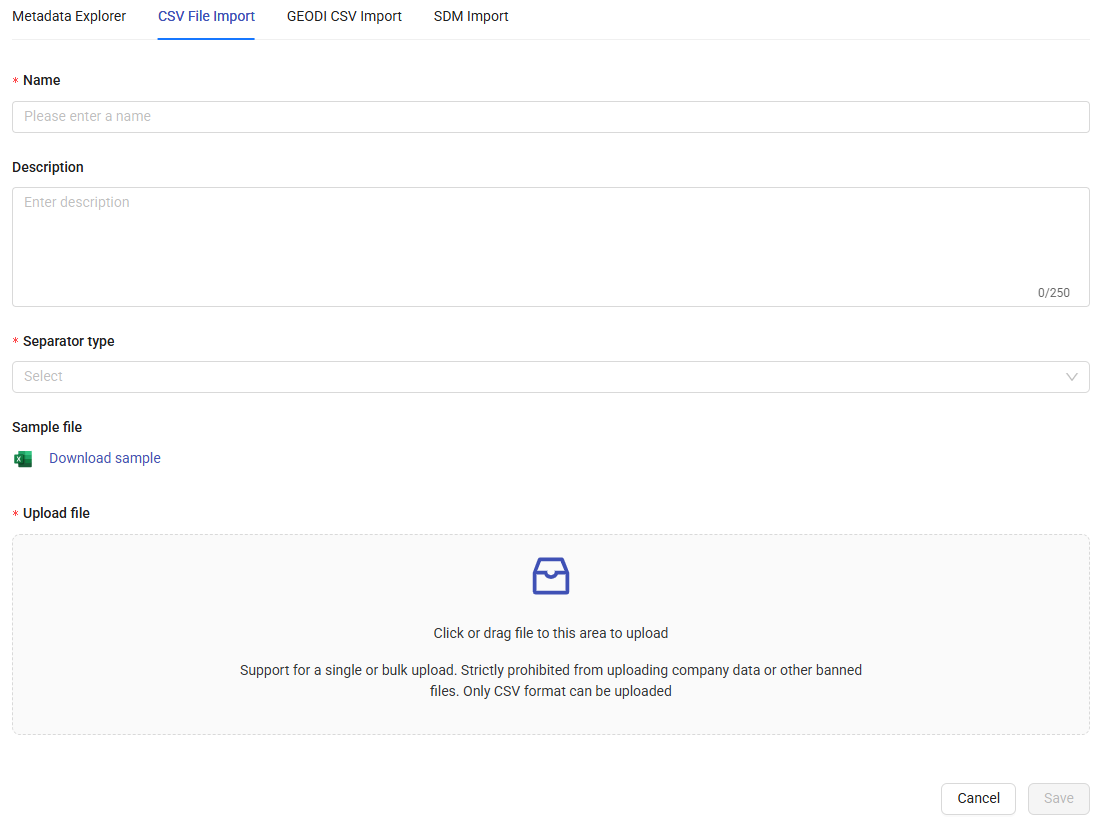
Use CSV File Import to extract metadata from uploaded files. A sample CSV file is available to help you match the required format.
GEODI CSV Import
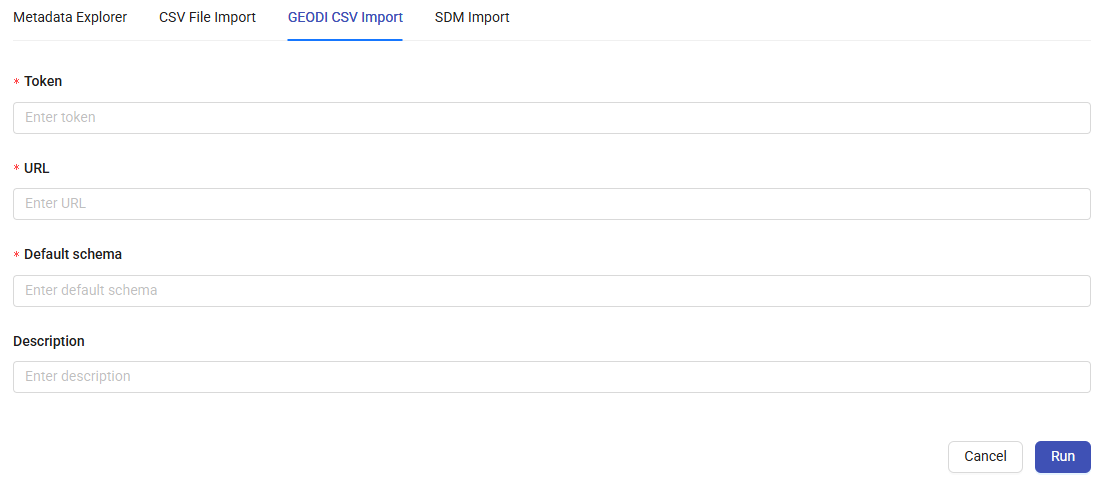
For GEODI CSV Import, fill in the Token, URL, Default Schema, and Description fields, then click Run to start the scan.
SDM Import
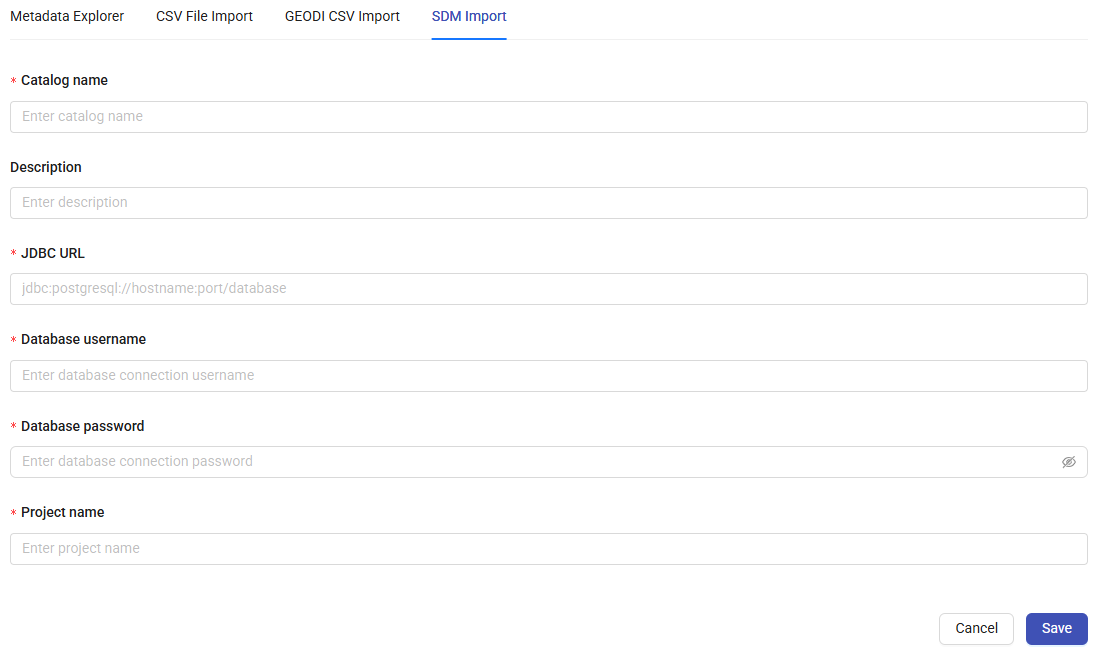
To scan using SDM Import, enter the Catalog Name, Description, JDBC URL, Database credentials, and Project Name, then click Save.
File Targets
The File Targets tab lists the file/cloud-storage targets added as Unstructured data sources. Each target row provides New scan, Edit, Delete, and Test connection actions. See Unstructured Data Discovery for details on configuring and starting a scan.
Scheduled File Targets
The Scheduled File Targets tab lists file targets that have been scheduled to scan automatically on a cron-based calendar. See Scheduled Scans in the Unstructured Data Discovery guide for details.